Wednesday, February 13, 2013

Springtime

Springtime Lovelies


I have been seeing awesome vine wreaths all over the place lately and just loved the look of them on a front door. I kept thinking to myself that I could make one out of the branches in my backyard. Well, I finally did.
 
In the South, there are so many twisted, tangled, and topsy-turvy branches around everywhere. There just happened to be quite a few hanging off a tree in my backyard when we moved into our new home. The first thing I thought of when we moved here was to make a vine wreath.
 
 
First, I cut down several branches that struck my eye and made sure they were long with plenty of thin branch to wrap around the wreath to bind it together.
 
 
I apologize that I didn't take pictures when I tore down the branches but it got pretty messy.
 
 
Here is a picture of the wreath all put together.
 
 
I made some roses from wired ribbon I had leftover from the holidays as well as the letter 'F' monogram wrapped in yarn for the middle. Added some gold leaves I had laying around. With some of the yarn, I also made some bows.


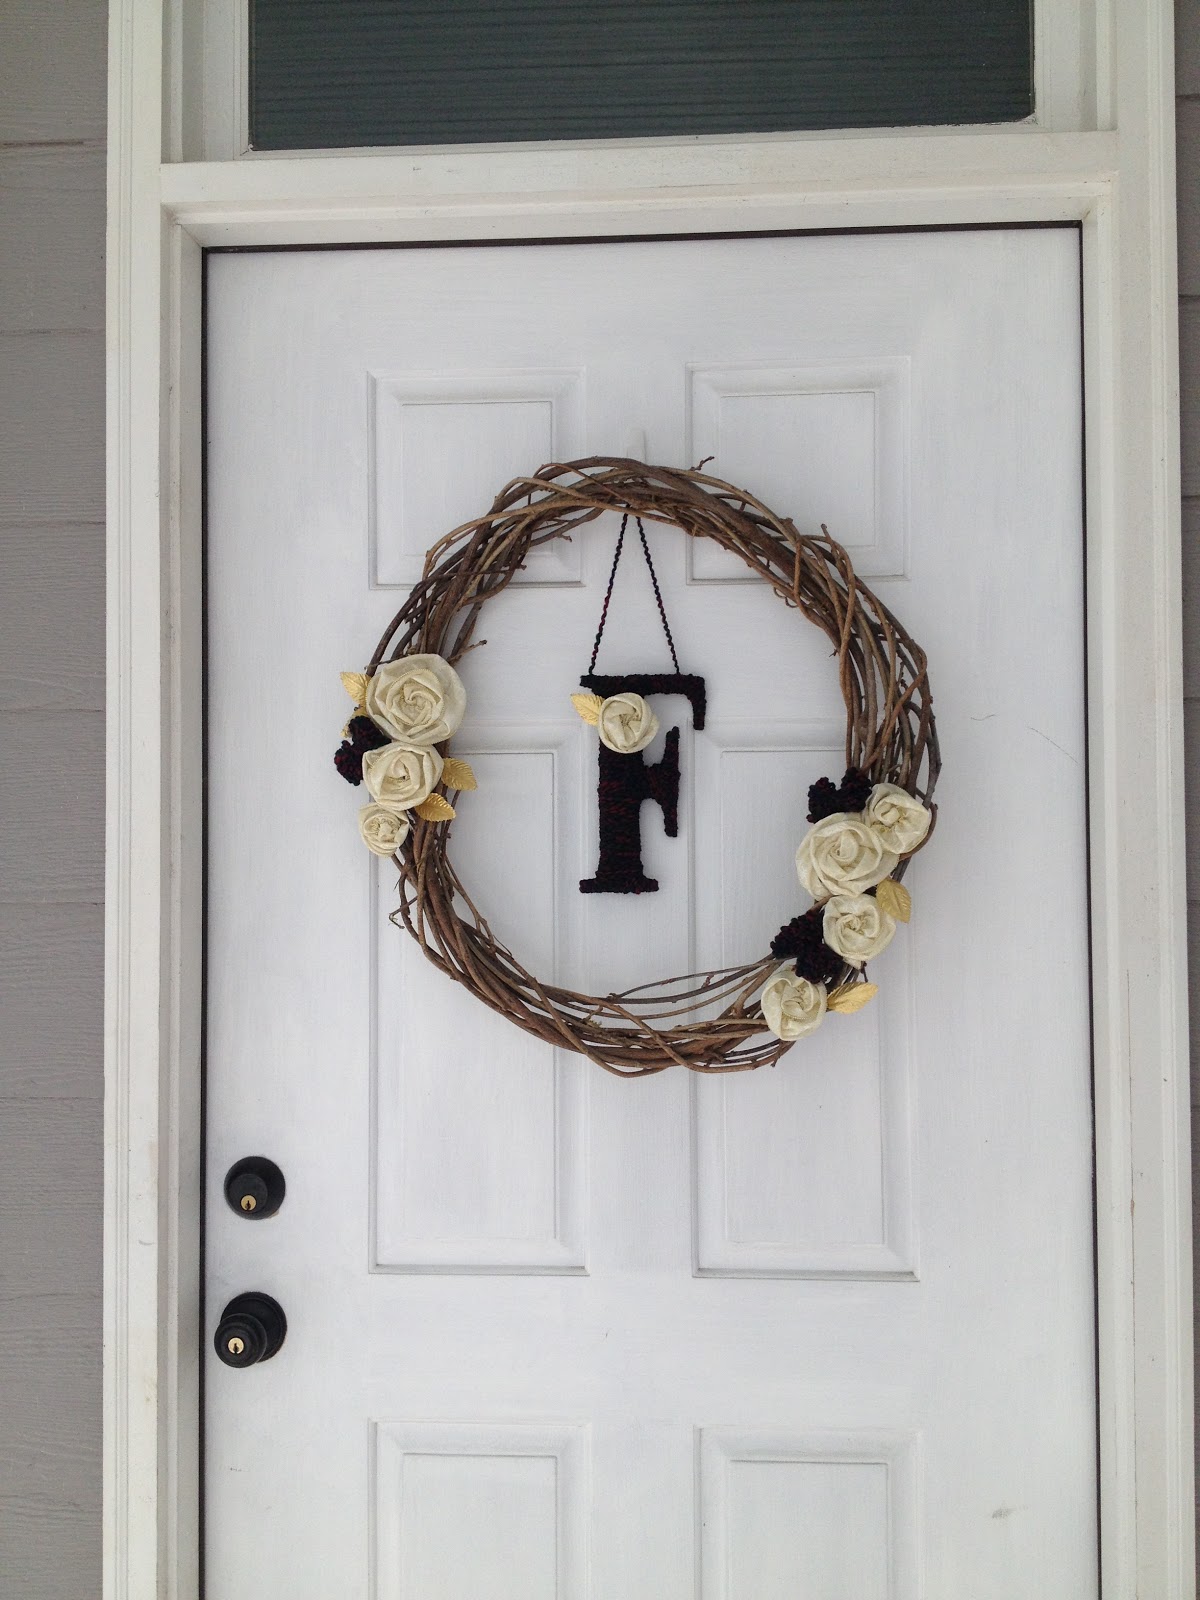
Overall, this was a pretty easy DIY. I found it also made a nice hiding place behind the flowers, in the twigs, to place a hidden key.


Tuesday, February 12, 2013

Fashion revamp

FASHION!!!

Today, I'm going to tell you about a fashion fix that could save your life! Well not really but it is a pretty nifty trick. 

I have a few pairs of jeans that I absolutely love but can't stand wearing because I constantly have to either pin them up or roll them up. Even with heels they were too long.

So, if you have a sewing machine, here is a quick way to a pair of like new jeans.

Above is the before and after shot of each leg.

First, measure the length you need to decrease each leg by. Then, pin up each leg so that you have the original seam. Pin midway between the excess and the seam so that when you sew, you can get as close as possible and you can leave the pins in place.


Next, sew it up. Make sure you get the side seams lined up. This can be a bit tricky.

Now, iron the excess if you want to keep it on. You can trim it if you'd like, but I have attachment issues so I left it :)

Lastly, iron the outside.


There you go! All done and ready to wear with heels or flats!

Hope you enjoy!

Update: Over time and after many alterations, I have found that using a zipper foot on your machine when you do this really gets your stitch closer to the factory seam.

Monday, February 11, 2013

Granite reuse

Good Morning All and Happy Monday!


I have been wanting to start a blog from some time now and share all of my random experiments  crafts and crazy ideas with the world. Up until now I have just been reading other people's blogs and thinking, "I wonder if people would be interested in the things I make." So, here it goes-and I hope everyone can learn something from my (and some of my husband's) creations.

I figured today was the perfect day to tell you about our latest creation. It's rainy outside and it makes the perfect day to turn on a good movie and do some creating.

Today, I will tell you about the tables we recently made. We just had out granite installed in our master and spare bathrooms last week and my husband was dead set on keeping the cutouts that were going to be leftover from the sink holes. He asked that when they installed the granite, if they could also bring the sink cutouts. We figured we should have them since the price per square foot makes each cutouts roughly cost approximately $100 and we could think of something to do with them. Here are our new bathroom sinks! We love them!


Well, this past weekend we thought of it-why not tables?

So-we went on a hunt for a bottom to our tops. Lowe's had some nice black metal mirror ball holders which were running contenders for awhile but we decided for the mirror ball holders at Big Lots. They were $20 a piece and are made of clay I believe. They are kind of a cream color and we figured if we wanted to in the future, we could add a bit of paint to them.

We bought two of these and wanted them for corner tables. To one we added a 1" block of wood (painted white) so that it would be slightly higher than the other.


Here is a close up of the granite:


To attach the granite to the pedestal, we used clear silicone. The one with the block required silicone under and above the block.

The tables all finished!


So, just keep in mind that if you ever have granite installed, you should keep the cutouts and make some cute tables. We have a third cutout we plan to use for an outdoor table soon.

Supplies required:
Gazing ball holders
Scrap granite
Clear silicone caulk
Wood spacer-cute to size of top of pedestal

Hope you get some great ideas from ours. 

Happy Creating!